
Two reasons prompted me to paint these picture frames. Reason number one is that they were in my booth for months and didn’t sell. They were also ugly and out-of-date.
But they had amazing potential and I’m glad I committed to the makeover. Now I’m going to keep them and hang them in the house whenever I figure out the best place. It will most likely be in the kitchen/dining area.
Today is Thrift Store Decoration Day. The team has been busy. Check out the rest of our makeovers!

These vintage frames were purchased at the Nashville Flea Market. The frame on wire with a second frame was my favorite. Not a look I’ve seen before.
They are outdated as you can see. While vintage is great for most things, these framed prints are not the best.

In the photo above, you can see the backs of the frames. I had to take out the photo and the glass in order to paint the wire and frames.
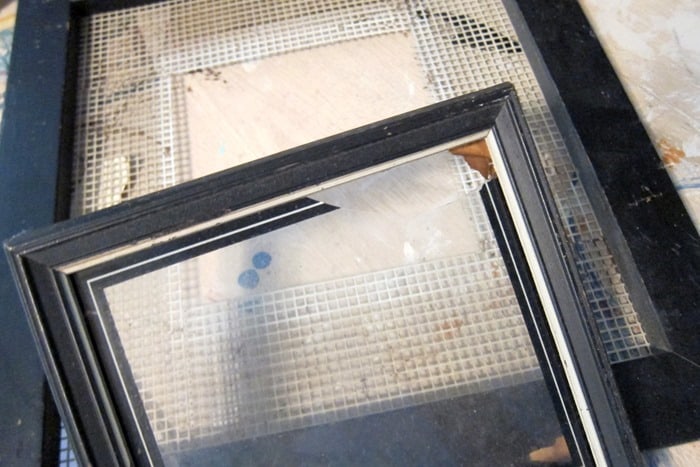
I tried to remove the contents from the small frame that was still attached to the wire. That didn’t work so well. I broke the glass.
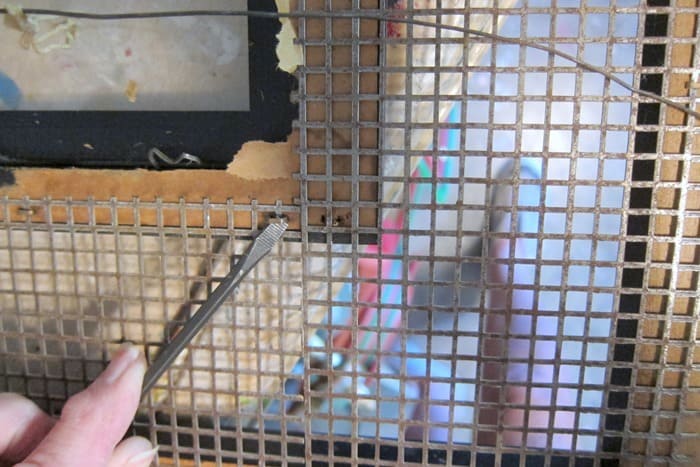
I took out all the staples that held the wire to the frame.

My original plan was to frame the remaining cloth napkins in the same frames as the Tuesday Morning citrus designs. You may recall that I replaced some prints in a frame and re-covered the barstool seat with the cloth napkins.
With that in mind, I grabbed some white spray paint and spray painted the frames. The white didn’t cover very well. I didn’t have my favorite spray paint brand in white (find on Amazon); so I moved on to something else.

I applied two coats Beyond. PaintIn off-white I applied the spray paint to the wire frame and dry-brushed off-white.
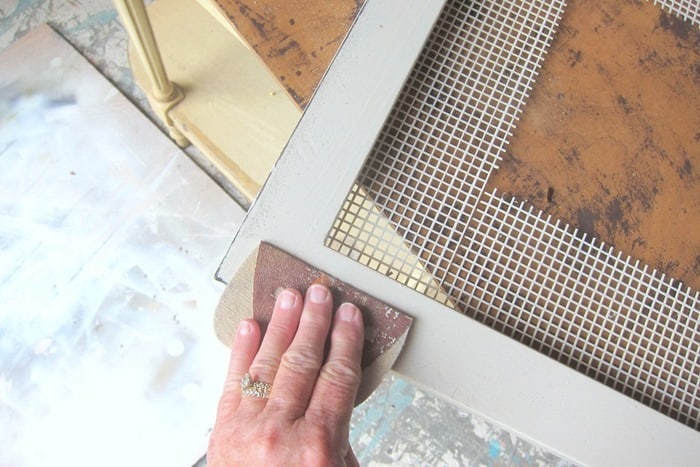
Everybody knows that distressing is the next step! I distressed the edges with 100 grit sandpaper.

Let’s talk about the alternative to cloth napkins. I’m in love with this upholstery fabric. It was perfect for a door in a vintage wardrobe.
The design and colors are stunning. The fabric is soft and velvety, which makes it difficult to photograph.
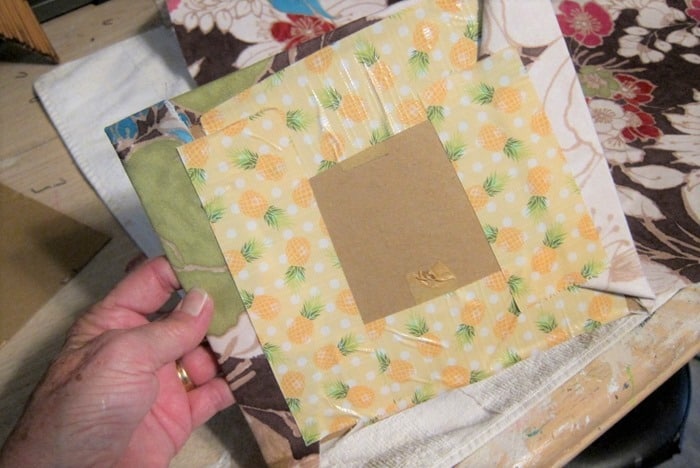 I cut enough fabric to cover the cardboard and fold it onto the back. I made sure that each frame had a portion of the fabric design that was nice.
I saved the cardboard from the small frame, and used Duck Tape on the backside to attach the fabric.

I pulled the fabric tighter so that it lay flat and without any wrinkles.

Next, I put the fabric-covered cardboard into the frame. Finally, I used Duck Tape for support.

That Duck Tape is strong stuff and I don’t have to worry about it coming off. The fabric and cardboard are guaranteed to stay put.

I used a heavy duty stapler for re-staple of the frame to wire.
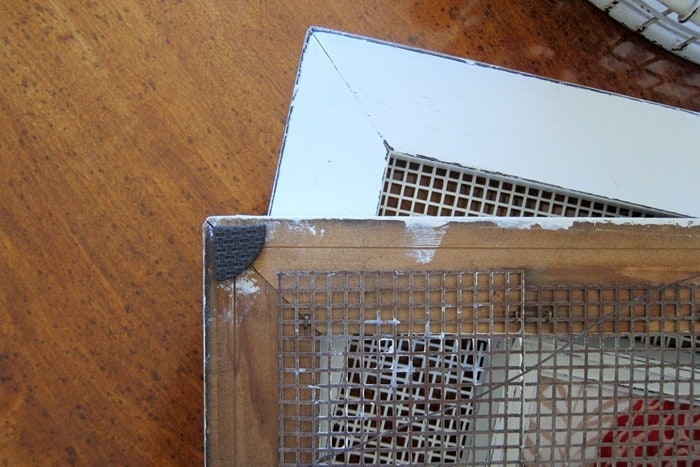
I used foam wall protectors in the back corners of the frames before they were hung. Don’t need the wood or wire rubbing the wall paint.

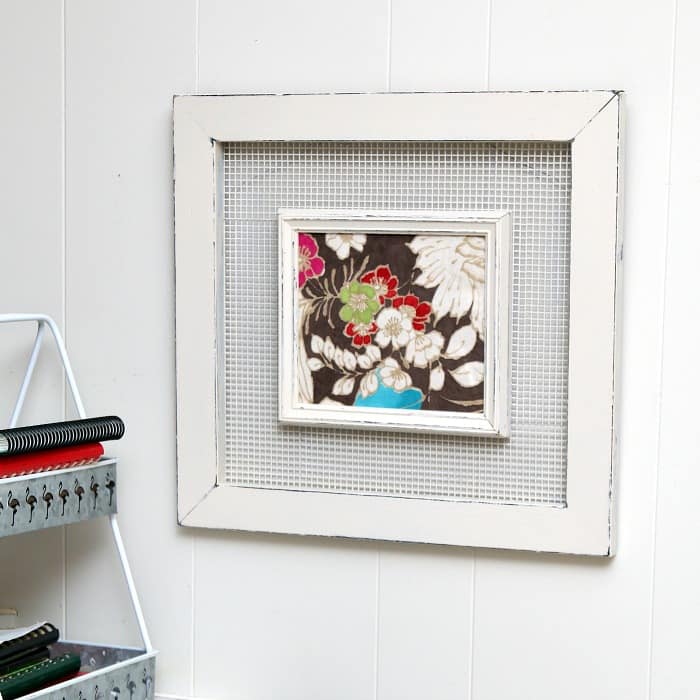
The old, dull frames are given a new look with the help of the light-colored paint and the beautiful fabric.
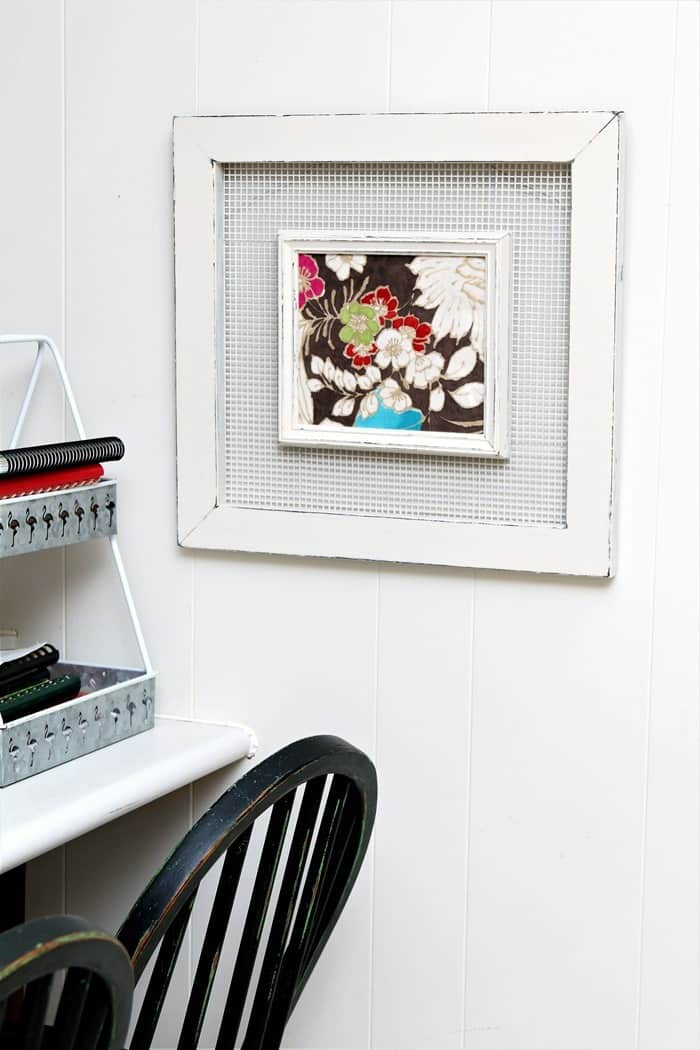
I prefer the small flowers design to the larger, even though they are both lovely.

The frames can be hung together or apart. I didn’t measure the frames but they take up a lot of space.

I snapped a photo from one of the frames that had been painted on our brown bedroom wall. Lookin’ good.
(***Today is the last day of Amazon Prime Day! You can check out the sales here

If you missed my video on spray painting and distressing home decor you can see it below…..
How to Spray PaintAccessory for distressing your home decor accessories
It’s time to visit the Thrift Store Decor Tour. Just click the pink text links below the “before” makeovers collage…..

Frying Pan Sign for Domestically Speaking
Baroque Mirror Memo Board by My Repurposed Life
Paint Old Picture FramesFrom Petticoat Junktion
How to PaintA Basket from Our Southern Homes
How to Make a Concrete Pumpkin from My Uncommon Slice in Suburbia
Halloween Ghost from Sadie Seasongoods’ Wooden Cheese Board
Rustic Birch Bark Vase by House Of Hawthornes
Kathy, thank you for being here. Have a wonderful day!