
When it comes to your best yard inflatables, placing them outside inevitably puts them in harms way for potential damage. You could get your inflatable ripped off by wild animals, snowstorms, or other factors that could damage it.
There’s no need to worry about buying a replacement though, as most issues with your inflatable not working can easily be fixed. Here’s a step-by-step inflatable repair guide to get you on your way.
The ProblemThe FixProduct Image Fabric or Nylon TearsTransparent Duct TapeTear-Aid Patch See-Thru Vinyl TearTear-Aid Patch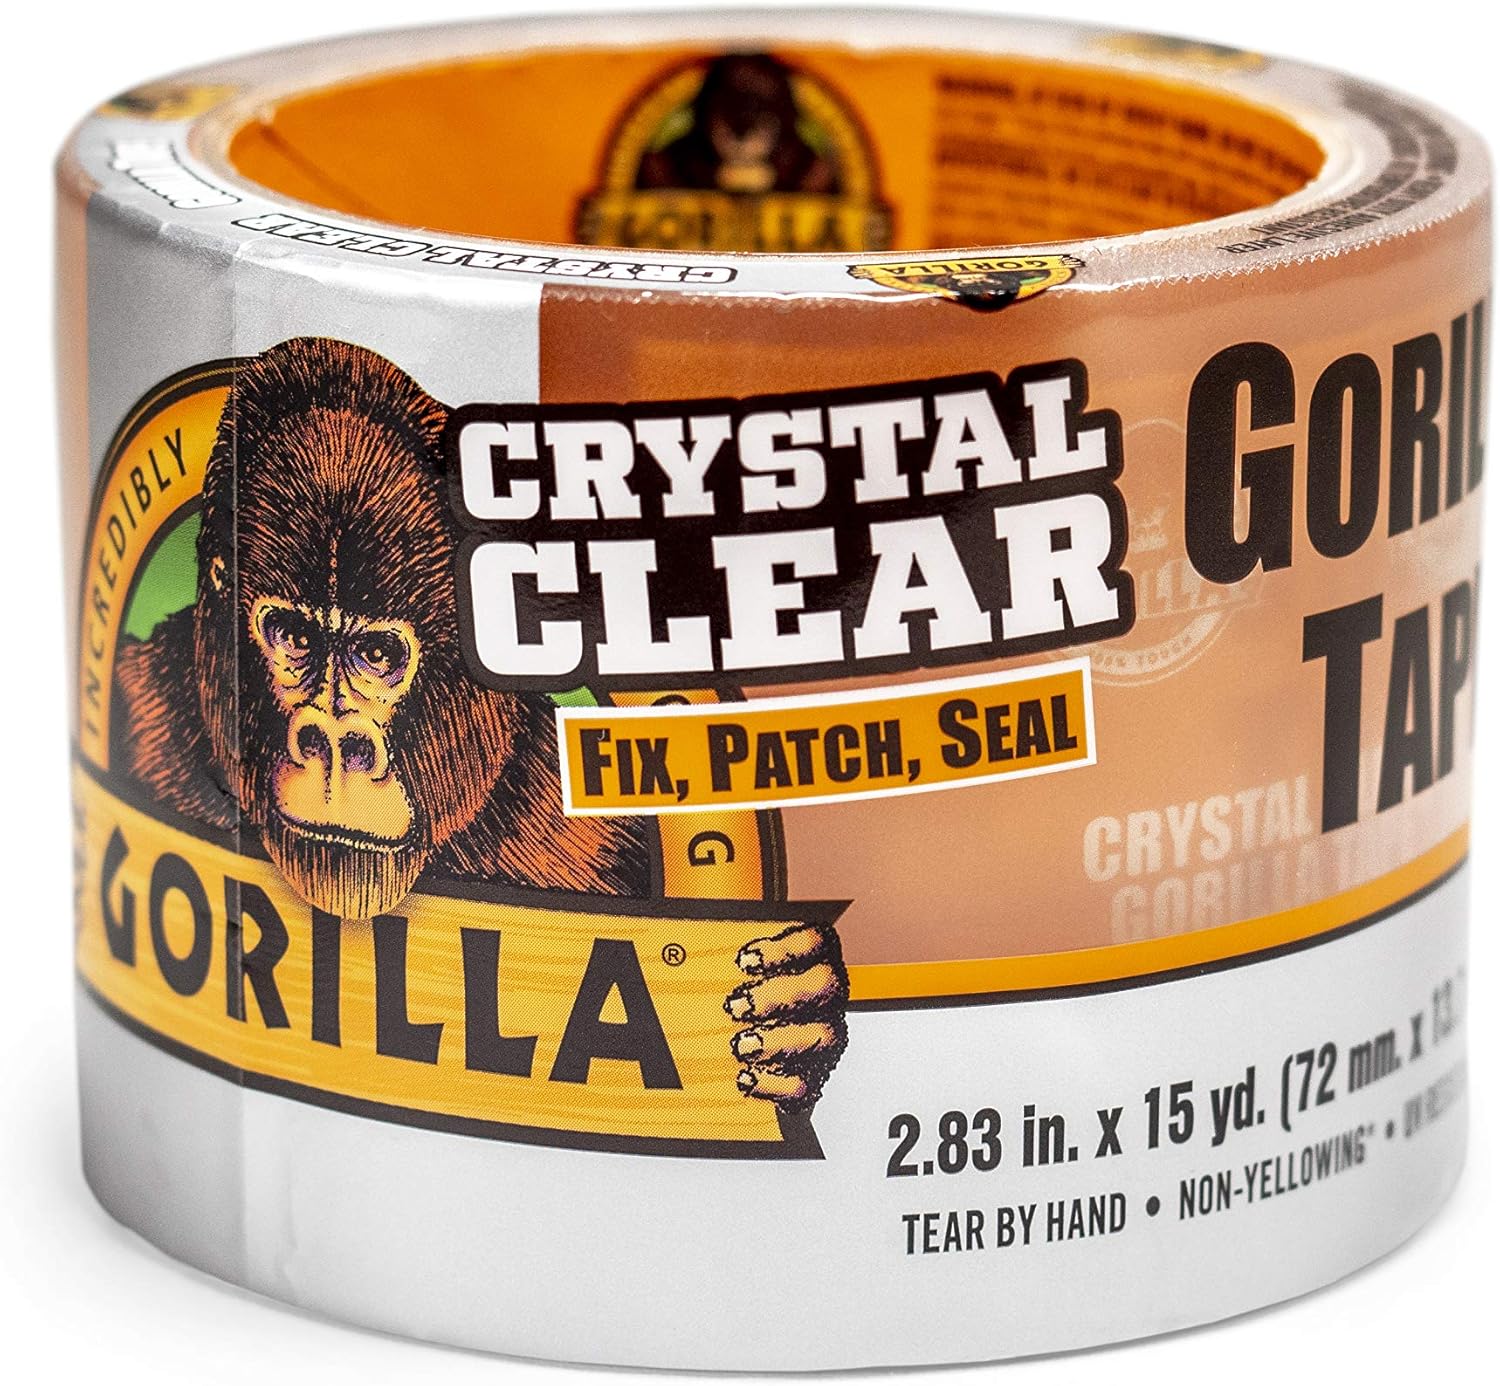 Blower BrokenReplacement Blower
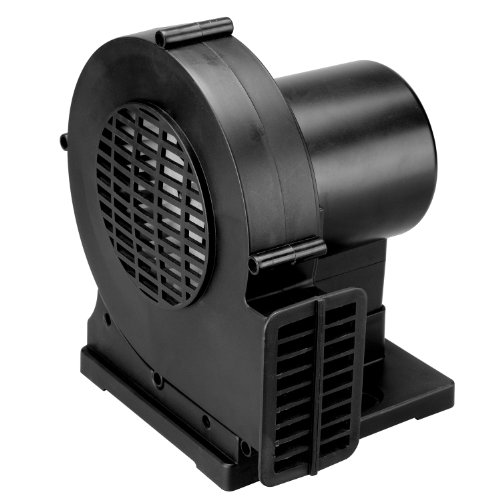 Inflatable Falling OverGround Stakes
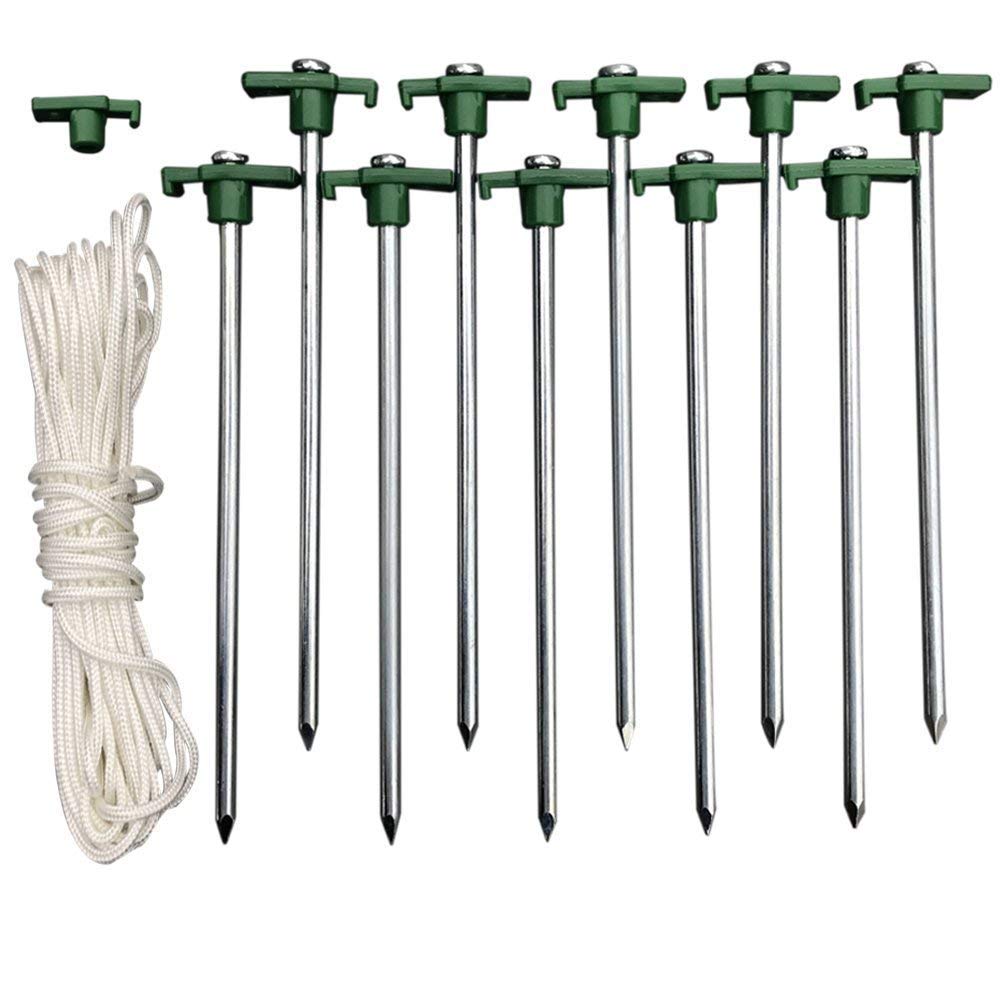
Does Your Inflatable’s Blower Work?
The first step you’ll need to do is figure out if your yard inflatable’s blower is working. Plug your inflatable directly into an outlet, bypassing any outdoor inflatable timers you may be using. If you still don’t get any action from your blower, try a different outlet if possible or at least plug another device into the same outlet to make sure the outlet is live.
If your blower is working, but the inflatable isn’t inflating all the way, you likely have a tear in your fabric. If your blower still isn’t working, you can skip ahead for more troubleshooting tips.

Finding Tears or Holes in your Inflatable
Depending on the size of the tear in your fabric, it may or may not be obvious and easy to find. Look around the inflatable while the blower is running to feel for air escaping. You might be able hear the hissing. If you’re really in a jam, you can use a classic mechanic’s trick. Spray your inflatable with some soapy water and a spray bottle. An area with air leaking out of it will start blowing large bubbles and make itself known!
This method will cover the entire inflatable. You can mark any leaks with tape or mental markers.

Fixing a Tear or Hole in your Inflatable
Now that you have all the leaks discovered, carefully take down your inflatable and move it into a large, well-lit indoor space if possible (garages work great!). Now it’s time to determine what kind of material you will be fixing.
Repairing Fabric/Nylon Tears
Most yard inflatables are made of a fabric/nylon material that can be repaired in a variety of ways. I’ll go over a few here –
- For major tears, we recommend Transparent Duct Tape. It’s not the sexiest solution, but it’s extremely effective for repairs. The duct tape can be used for repairs and is weather resistant. To protect your inflatable from the elements, place the duct tape on its inside. The only downside this method has is the duct tape may be visible if there’s a light shining behind it.
- For small tears, a simple sewing kit will do the job if you know how to use it. This repair method will be the most visible to others, but it can create a strange divot inside your inflatable if the fabric is gathered too much.

- For holes and tears in highly visible areas, we recommend Fabric Repair Tape. This is slightly thinner and less visible than clear ducttape, but it is still strong and durable. You can also buy it in clear.

Repairing Vinyl Tears
Vinyl is typically only used on large, see-through sections of yard inflatables. If you have something like a snow globe display for a Christmas inflatable with a clear outer shell, it’s likely vinyl.
Vinyl repairs require a new toolkit. You definitely won’t be able to sew the hole shut, you’ll instead need a special vinyl repair kit. These vinyl patches stick extremely well and go on clear. From close up you may be able to tell there’s a patch, but it will leave your inflatable with a great aesthetic still.
Inflatable Blower Stopped Working
This issue is often not as easy as patching a tear. Let’s step through some things you can check before determining that you need to replace the blower.
- Make sure nothing is jamming the fan from running. You should inspect all fan openings for debris.
- Check the fuse on your plug. Replacement fuses are very cheap, so if your inflatable has a blown fuse, it’s an easy fix to swap a new one in.
If these steps don’t work, you should consider replacing your inflatable blower. These are the best ways to do it.
Yard Inflatable Replacement Blower

This is even stronger than the stock blowers that come with your inflatables, so it will have them standing erect like you’ve never seen before! It’s also known to be durable, even in tough weather.
Inflatable Replacement Blower with LED Lights Plug
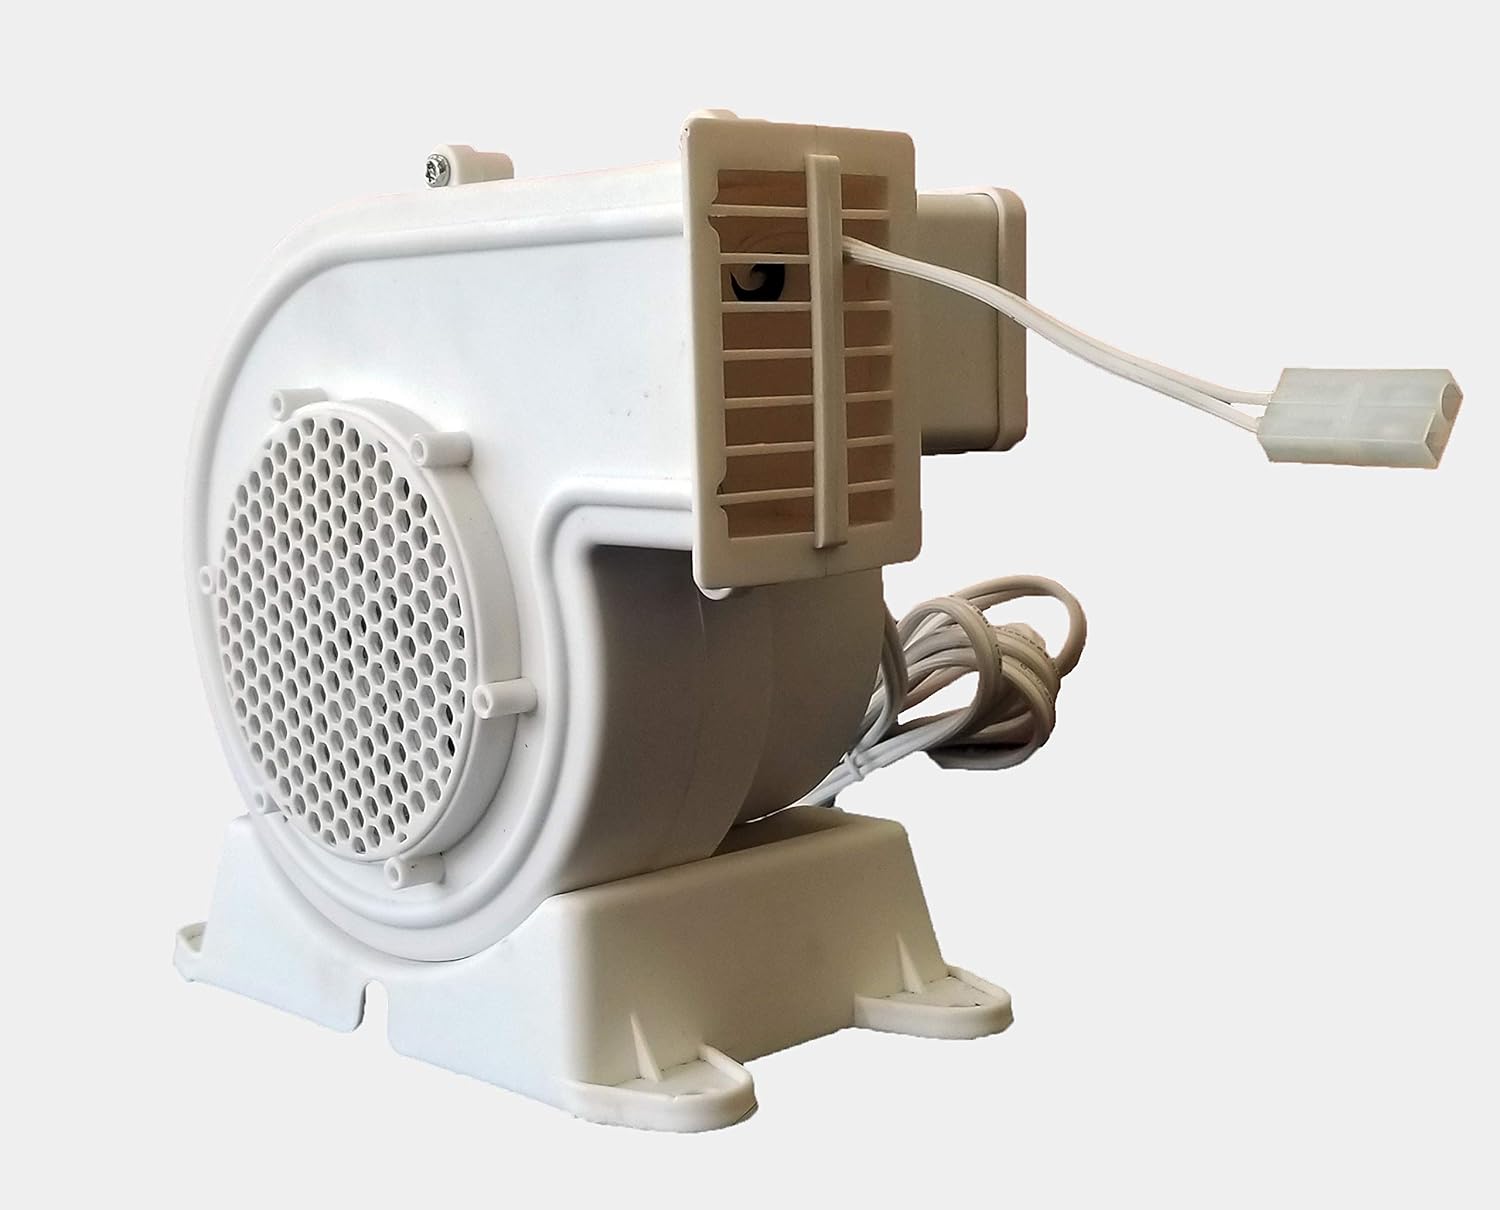
Your existing inflatable blower may have an LED plug attachment in it if it has internal LED lighting. If that’s the case, you may be able to find a blower that’s compatible with your existing lights.
Compare your broken blower’s connecting plug with the one in the product images to make sure it’s a match!
Seasonally Swapping Fans
One other workaround for your broken blower blues is swapping fans with another inflatable that does work. For example, if you have a Valentine’s Day inflatable with a worker blower and an Easter yard inflatable without, you can swap the working blower between the two once the seasons change. While this will require you to purchase a new yard inflator, it is often cheaper than purchasing a replacement blower.
Fixing/Replacing LED Lights in an Inflatable
You may be wondering if it’s possible to replace or fix the LED lights in a yard inflatable. Although it is possible, you will need to have some electrical/wiring skills.
The below LED light could be used to adhere inside of your inflatable, just like the non-working versions, but you’ll need to attach them to the power supply somehow. The way your inflatable is set up will play a major role in this.

If you’re not into splicing wires, then you might prefer to just go with outdoor lawn spotlights to light up your inflatables. These lights can be controlled remotely to change the color of any light. Many have RGB capabilities.
